The next article will explain how to deal with shifting content while using an automated visual test.
For your convenience, please find the following video guide:
When writing visual automated tests, we can encounter an issue caused by a shifting content\elements.
In a visual test, shifts of an element (e.g: image) will cause the test to fail:
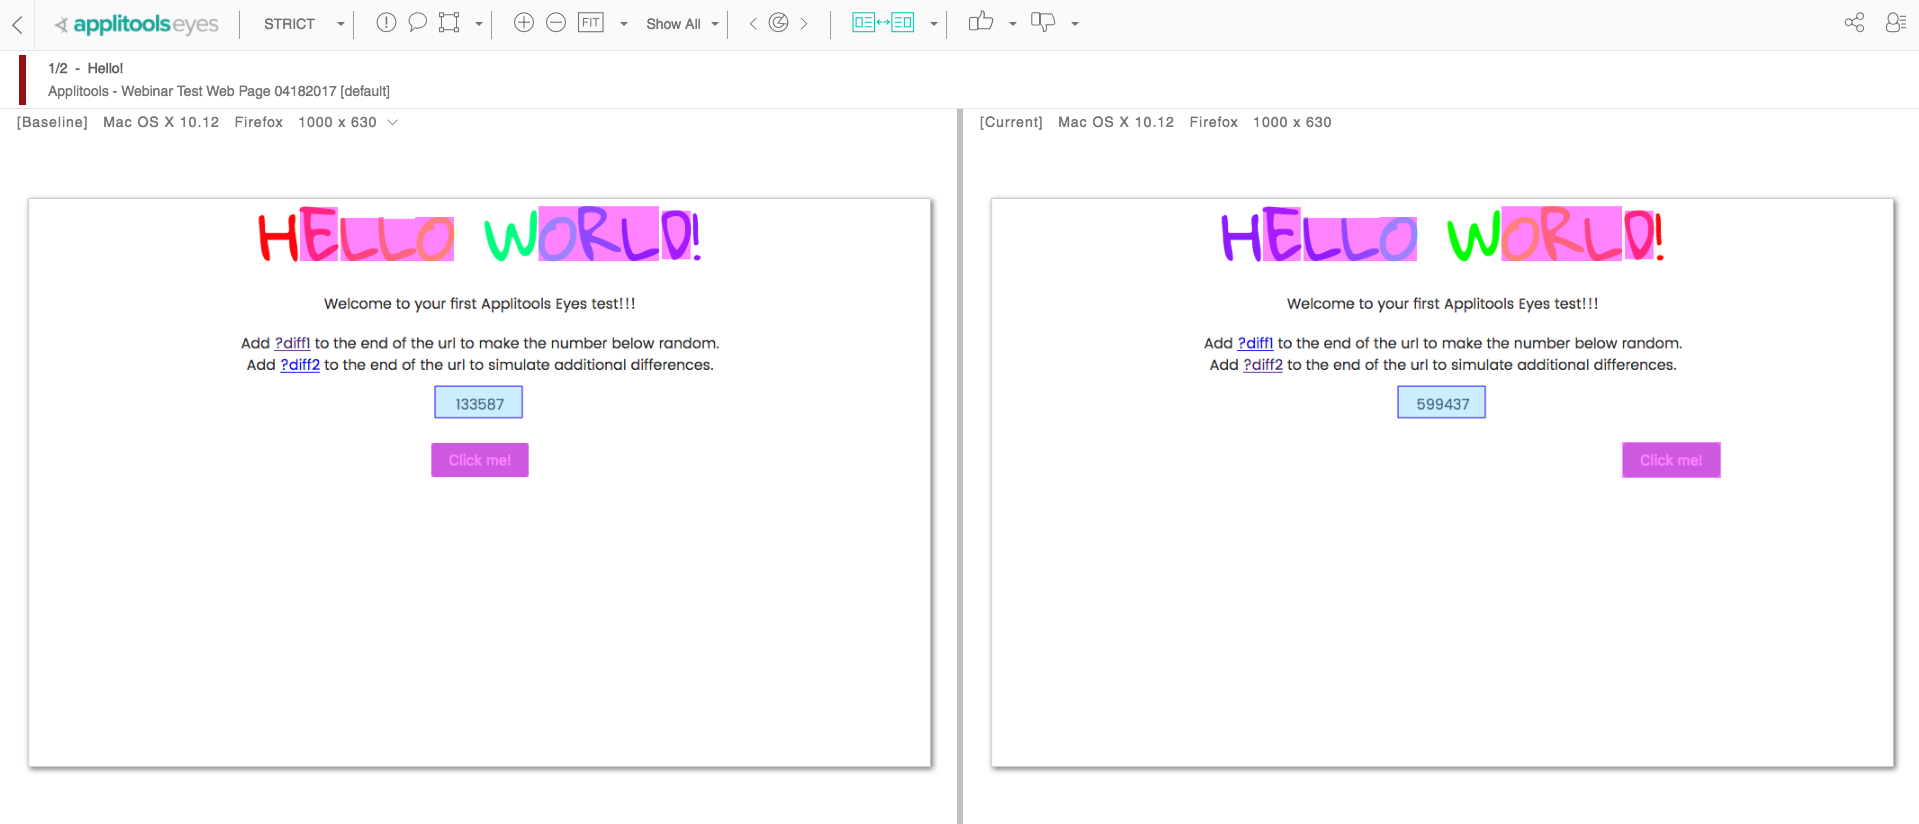
The float region was designed to deal with this exact problem, in which the test fails, even though no actual anomaly was taken place.
The floating region allows us to select an area in the page, and create a "tolerance" area, in which the image is able to move without failing the test.
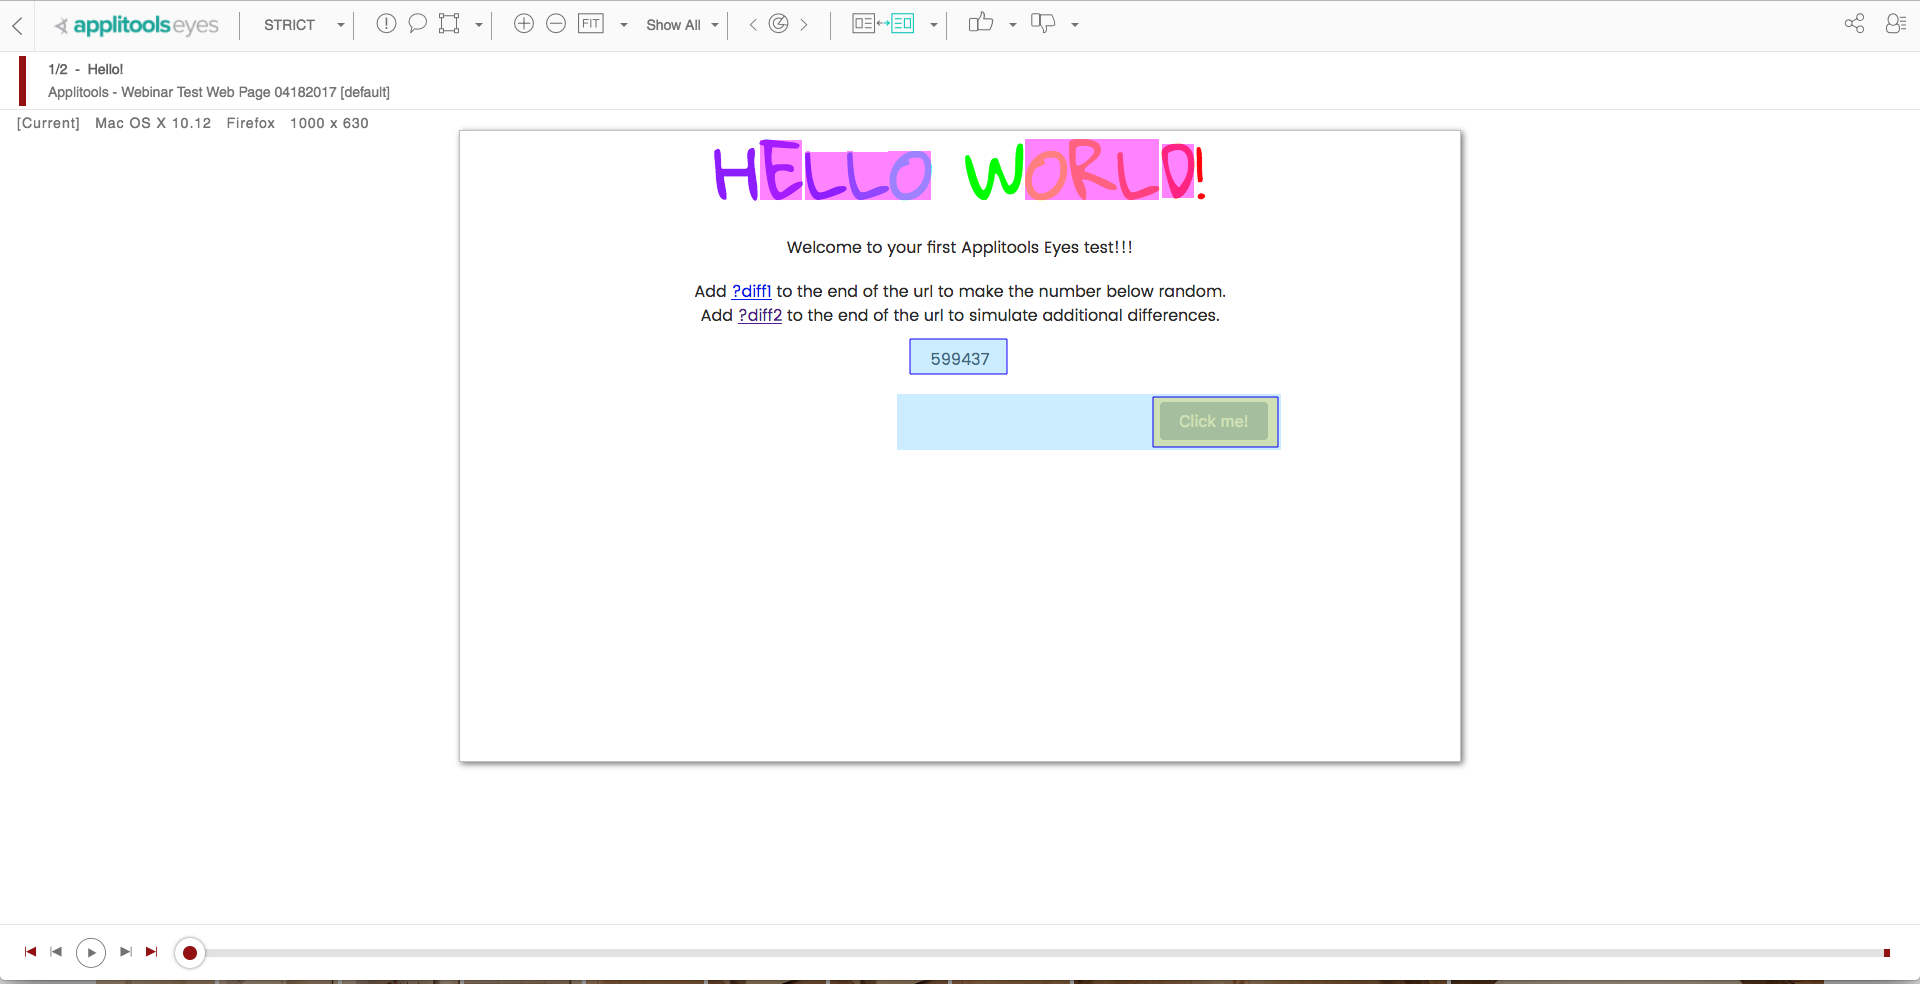
After defining a floating region, we can go ahead and accept and save it as our baseline.
Another example of the necessity of the floating region is when we have an element in our application, that we want to visually verify, but the location of the element constantly changes.
In the following example, we want to verify the text line "important information you're looking for" appears, regardless it's position.
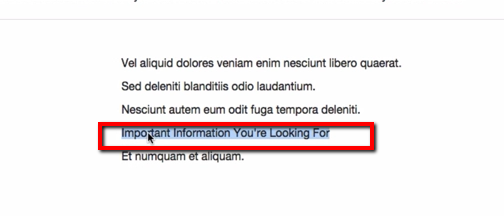
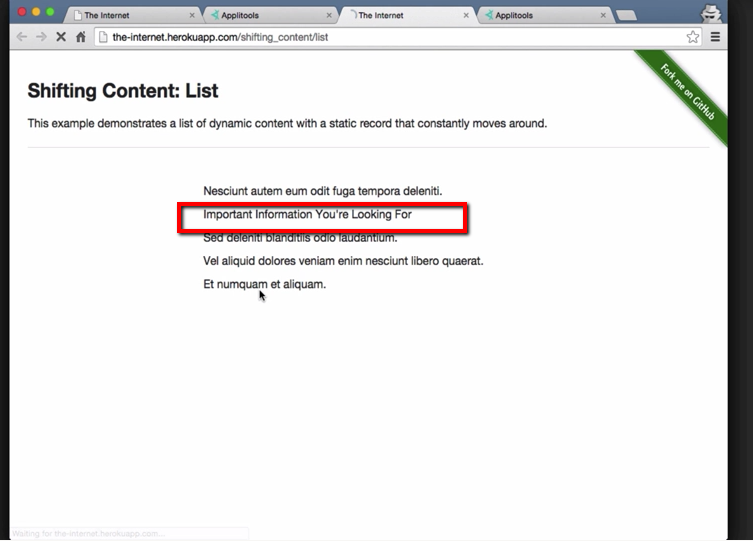
In cases of pages where elements tend to switch places, the tests are more likely to fail. This can be solved by applying a floating region. The floating region is able to ignore random and insignificant location changes in our visual test. The difference between those two examples is the fact that now we will adjust a bigger region manually, in which the element can shift, instead of just enclosing the item that we want.
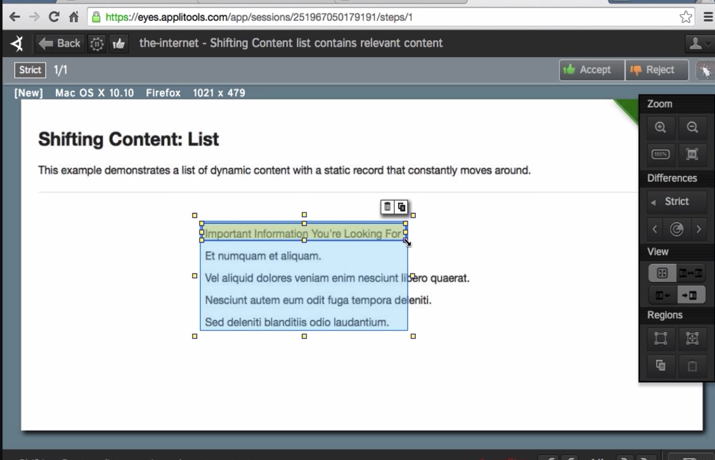
You can find a video explaining the different uses of the floating region at the beginning of the article.
Note: As when using a floating region, a content comparison is made to validate that the same element is shared between the baseline and current images (with some movement tolerance) - a floating region has no relevance while comparing with the Layout match level, which ignores the content and focuses only on validating the structure of the page.

Comments
0 comments
Article is closed for comments.